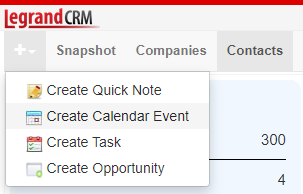
Click the ‘Quick Create’ icon in the main menu.
Select ‘Create Calendar Event’.
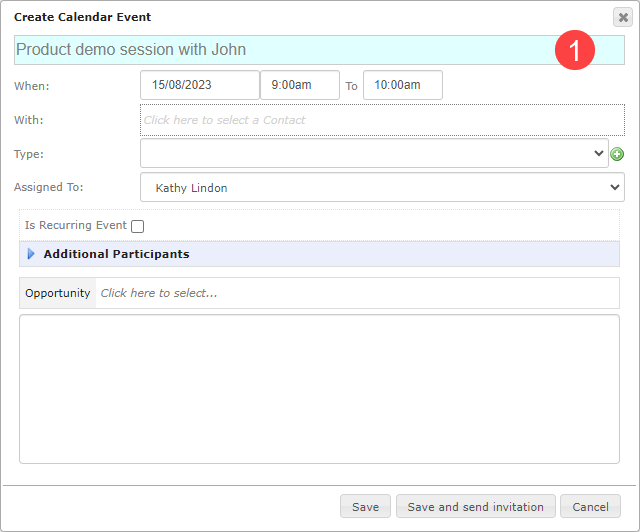
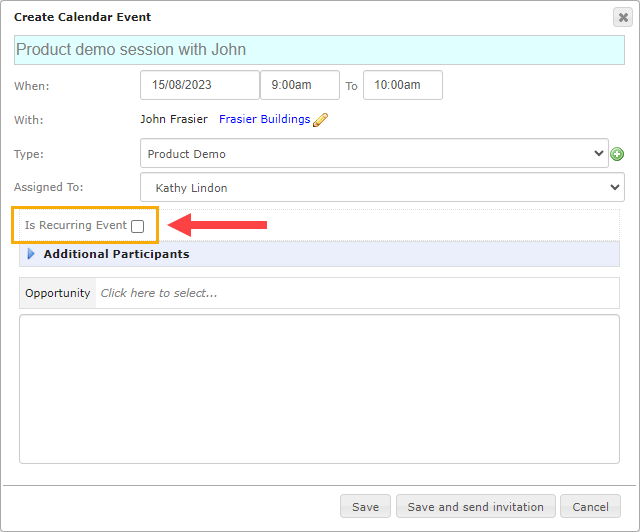
Enter a title for the calendar event
Enter a summary of the calendar event in the title.
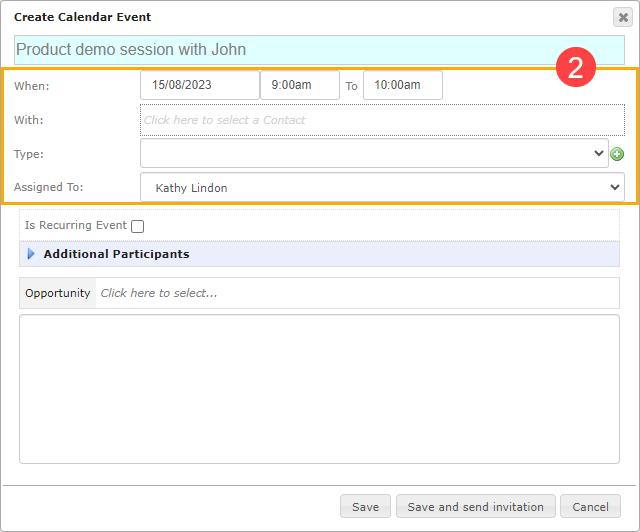
Enter calendar event information
- When: Select a date and time for the calendar event.
- With: Click the link to select a contact.
- Type: Click on the green icon to define the calendar event type, e.g. online meeting, client visit, phone call appointment etc.
- Assigned To: Assign the calendar event to yourself or a team member.
Recurring calendar event (optional)
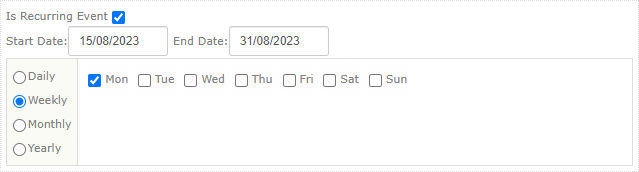
You can turn regular appointments into recurring calendar events. Tick the checkbox to make the calendar event recur.
Specify the start date, end date and recurrence frequency.
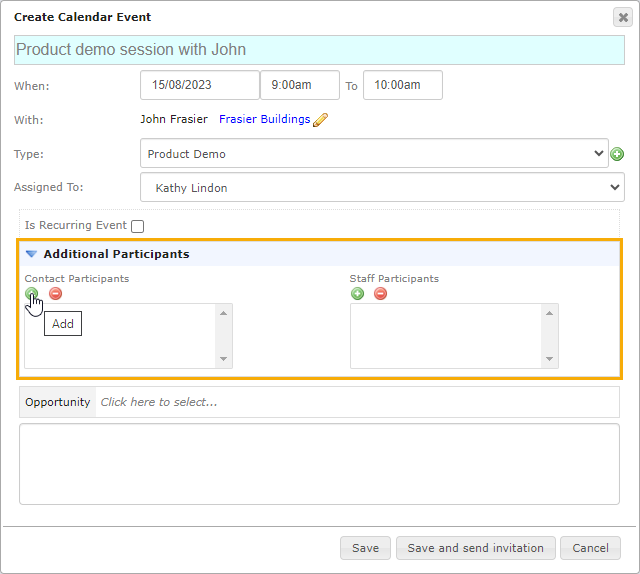
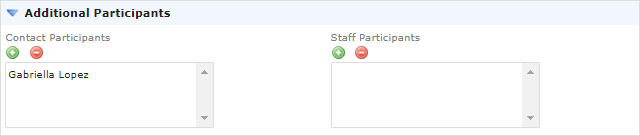
Invite additional participants (optional)
You can invite other contacts or team members to join the calendar event. Click on the green icon to add participants.
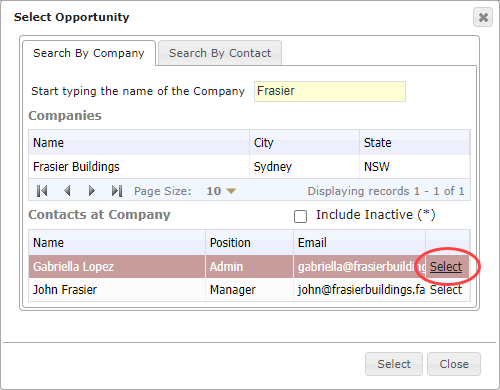
Search for the contact(s) you wish to invite and click ‘Select’.
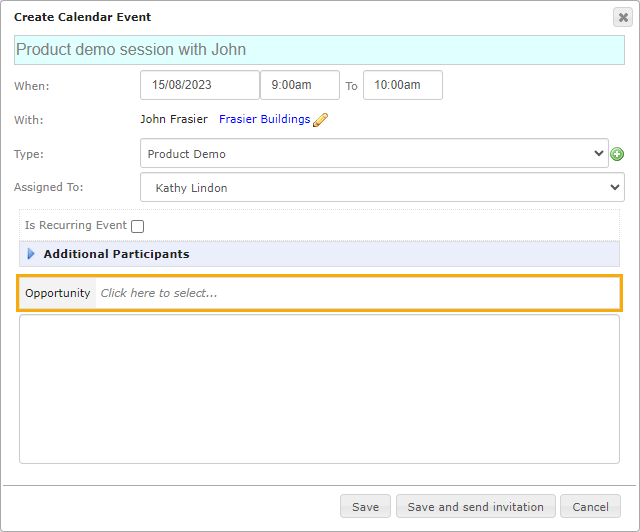
Link a sales opportunity (optional)
Click the opportunity field to link a related sales opportunity to the calendar event.
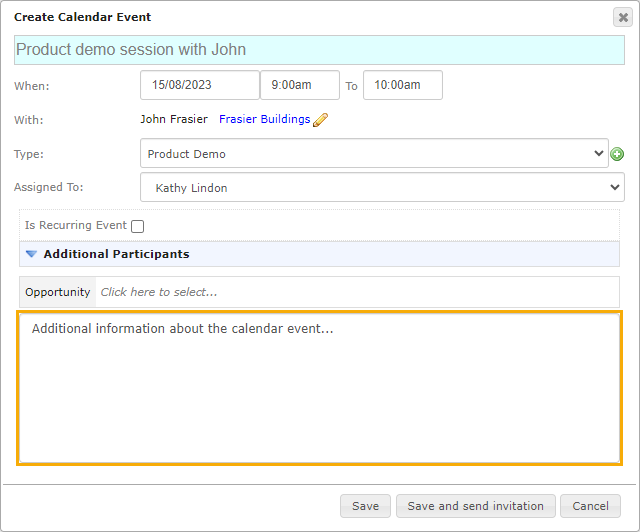
Additional calendar event information (optional)
Enter any additional information in the following section:
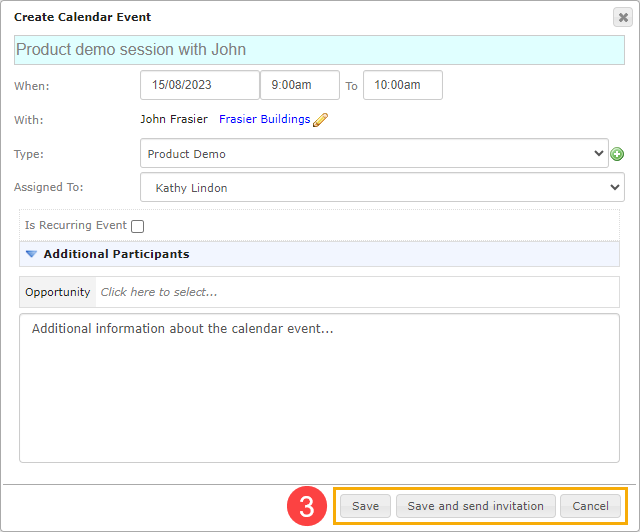
Save and send the invitation
Click ‘Save’ to create the calendar event. If you’ve set up your SMTP email settings, you can select ‘Save and send invitation’ to save the calendar event and send the email invitation to the contact right from your CRM.