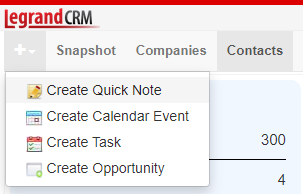
Click the ‘Quick Create’ icon in the main menu.
Select ‘Create Quick Note’.
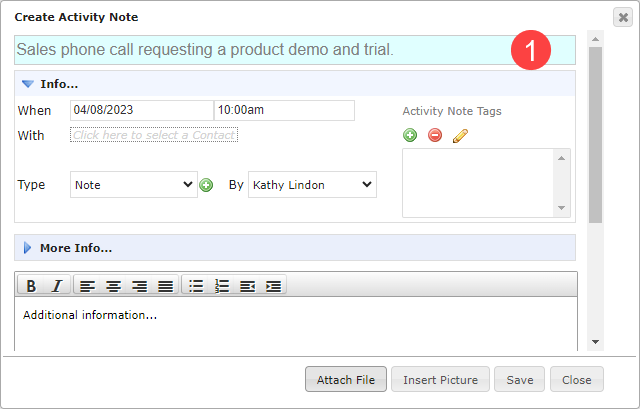
Enter a title for the activity note
Enter a summary of the activity in the title.
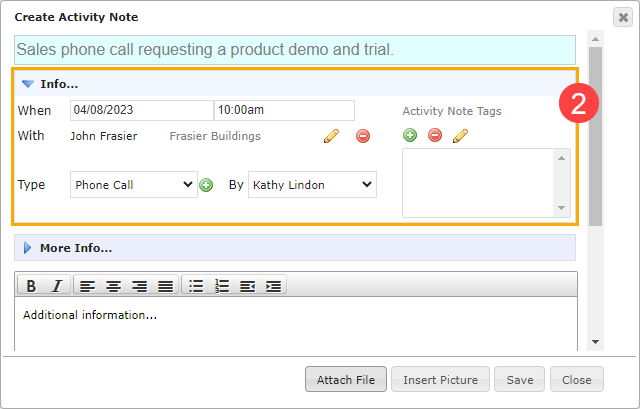
Enter information about the activity note
Enter information about the activity in the ‘Info…’ section.
- When: Legrand Cloud CRM automatically enters the current date and time. If necessary, you can change the date and time.
- With: Click the link to select the contact related to the activity.
- Type: Select an activity type such as a phone call, email, meeting, etc. The ‘Type’ field is configurable. Click on the green icon to define activity types relevant to your business.
- By: The team member who performed the activity. By default, your user name is selected. Click the drop-down to choose a different user.
- Activity Note Tags (Optional): Use Activity Note Tags to sort notes into categories. For example, you can create a new tag called ‘high-priority’ and add it to important activity notes. In the Reporting module, you can filter activity notes by tags.
More Info
Click to expand the ‘More Info…’ panel and enter additional information such as the status or outcome.
Note that the drop-down fields are configurable. Click the green icon to define the drop-down list items.
Link a sales opportunity
In the ‘More Info…’ section, you can link a sales opportunity related to the activity.
Click the link ‘Click here to select…’ and select the opportunity.

Additional Information
Enter additional information about the activity in the section provided.
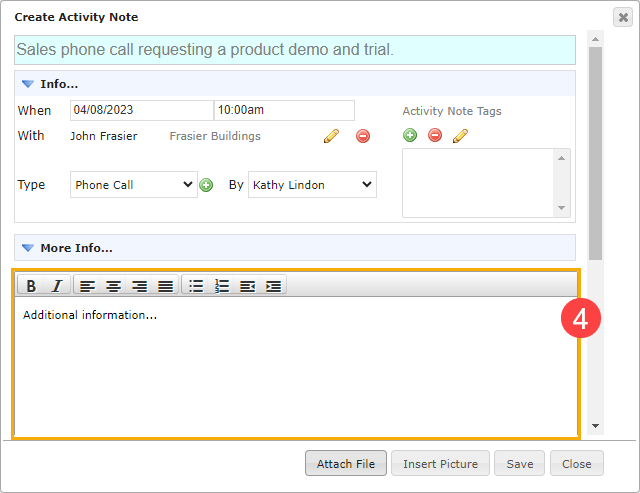
Attaching files or inserting pictures
Click ‘Attach File’ to link documents to the activity. To add images in the additional information section, click ‘Insert Picture’ and upload the file(s).
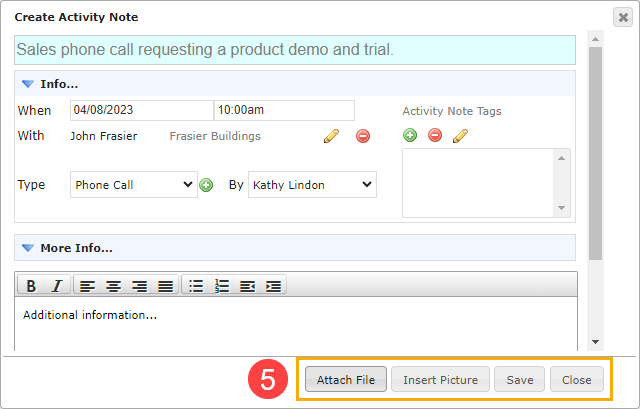
Click ‘Save’ once you finish.