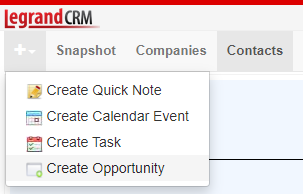
Click the ‘Quick Create’ icon in the main menu.
Select ‘Create Opportunity’.
Enter information about the opportunity in the following fields:
- Contact: Click the contact field to select an existing contact or create a quick company and contact. Note that the company field automatically populates when you select a contact.
- Manager: The team member responsible for managing the opportunity.
- Category: Categories help sort opportunities you receive for different products or services. Click on the green icon to define categories.
- Territory: You can segment prospects based on geographic location for reporting purposes or allocate specific sales reps to manage opportunities from certain regions. Click on the green icon to define territories.
- Value: Estimate the value of the opportunity. You can use this for your own sales forecast and reporting.
- Probability: Percentage likelihood of winning the opportunity.
- Estimated Close: Estimate the expected date the opportunity will close. You can use this for external sales forecasting.
- Forecast: The likelihood of winning the opportunity. E.g. forecasted, not forecasted or upside. Click the green icon to edit the forecast statuses.
- Next action: Plan the next step in your sales process. E.g. Call the prospect for lead qualification.
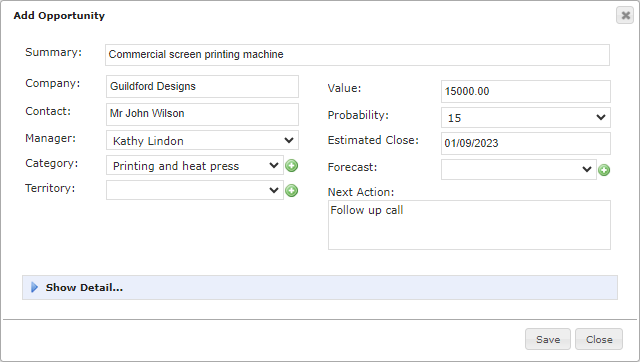
Click ‘Show Detail…’ to enter additional information in custom fields.
Click ‘Save’ once you finish.