Prerequisite: Download and install the Legrand CRM Outlook add-in from our site here.
Note: Legrand CRM will no longer develop and update the Legrand CRM Outlook Add-in for desktop Outlook as the new Outlook for Windows does not support COM add-ins. However, Legrand CRM will release a new version of the Outlook add-in that will run in the new Outlook in time to ensure no productivity benefits are lost when the new Outlook becomes the only way to access your mail.
Define a connection to Legrand Cloud CRM
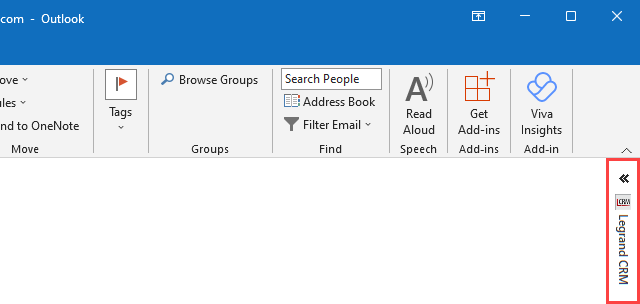
Open Microsoft Outlook and select the Legrand CRM tab on the right.
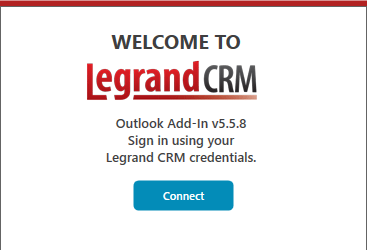
Click Connect.
Click Select on the sign-in screen.
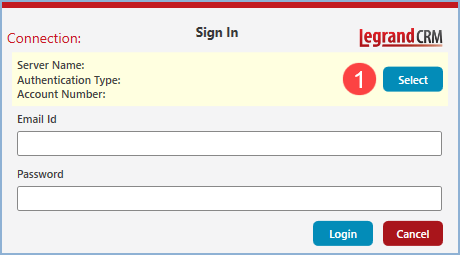
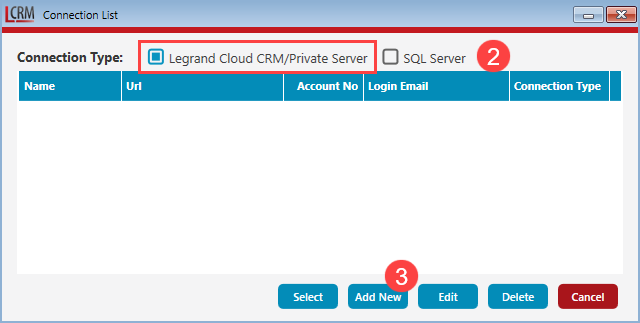
Select Legrand Cloud CRM/Private Server as the connection type and click Add New.
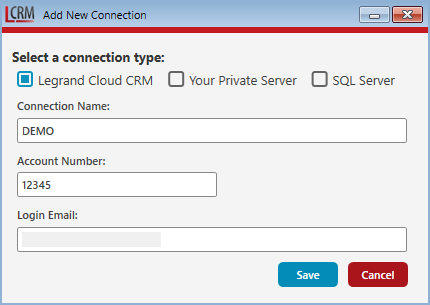
Select Legrand Cloud CRM as the connection type and enter the following details:
- Connection Name: Any name such as your company name.
- Account Number: The 5-digit number for your Legrand Cloud CRM account. You can find the account number next to your user name when you log into Legrand Cloud CRM.
- Login Email: The email you use to log in to your Legrand Cloud CRM account.
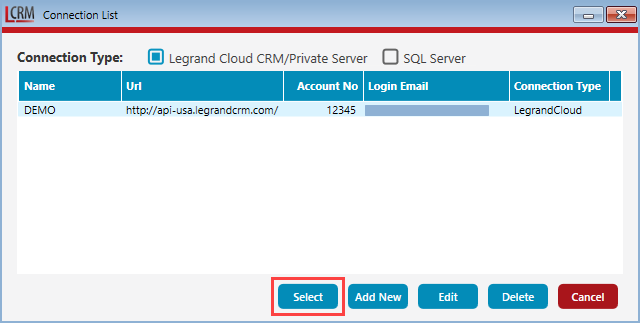
Select saved connection
Select the saved connection from the list.
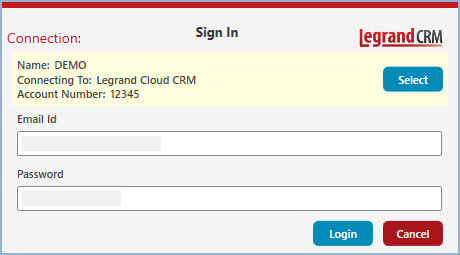
Sign in using your Legrand Cloud CRM credentials
Enter the same email and password as your Legrand Cloud CRM login.