Go to the Opportunities module and select an opportunity record.
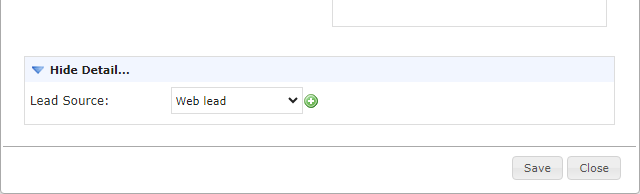
In the opportunity record, scroll down and click Show Detail… to expand the section.

If there are no custom fields, select Click here as shown below. If you already have custom fields, click Edit Layout/Add fields.

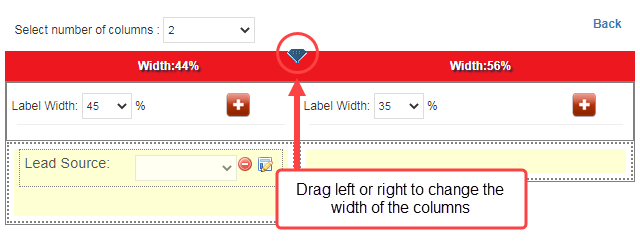
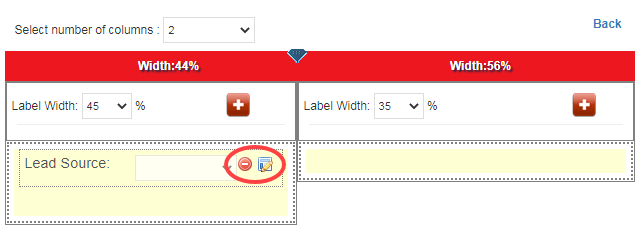
In the configuration screen, use the drop-down to select the number of columns.

Click and drag the blue icon left or right to change the column width.
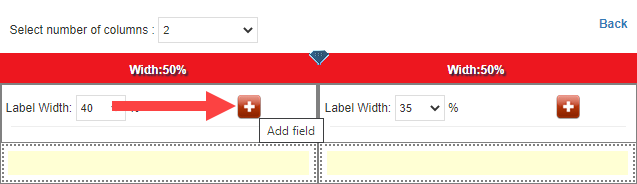
Use the plus (+) icon to add custom fields.
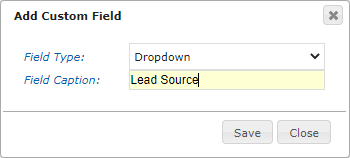
Select a Field Type. You can choose a textbox, number, date, checkbox or drop-down field.
Enter a name for the custom field in the Field Caption and click Save.
Once you add a custom field, use the drop-down selection to specify the label width.

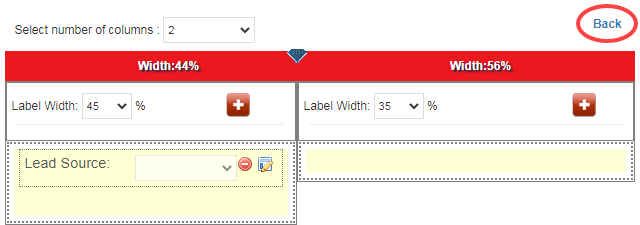
Use the icons as shown to delete the field or edit the caption.
Once you finish, click Back to exit the configuration screen.
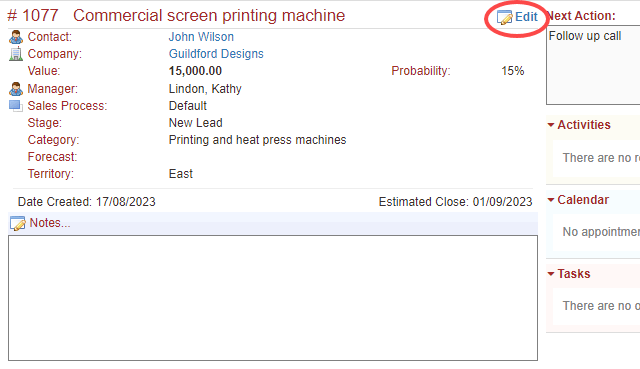
Scroll up and click Edit to record information in the custom field.
Enter information in the detail section below and click Save.