You can configure Legrand Cloud CRM to suit your business requirements and user preferences. In the Snapshot module, click and drag the panels to change the order and click the arrows to expand or hide information.
In the Companies or Contacts module, you can display columns that are relevant to you and in the sequence you prefer. Click the column headers and select the information you would like to show or hide.
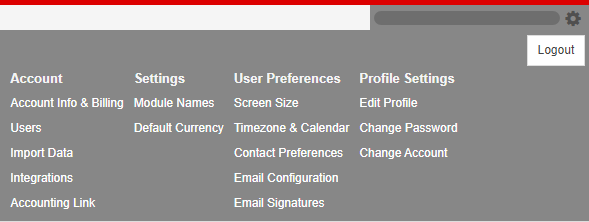
For advanced configuration, click the settings icon next to your user name. You can configure the module names, default currency, screen size, calendar, contact preferences and more.
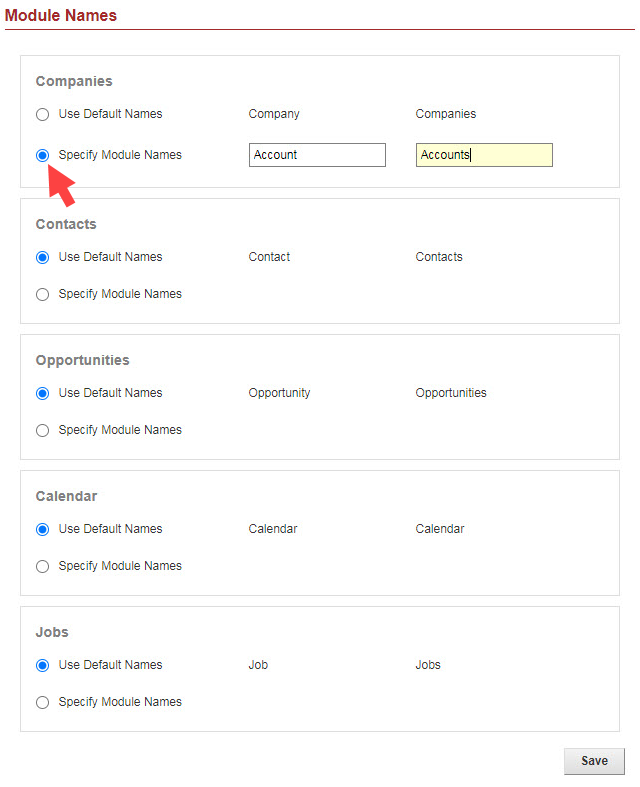
Module Names
Click the settings icon and select ‘Module Names’. In the Modules Names screen, select ‘Specify Module Names’ and enter the new module names (singular and plural). For example, the Companies module can be renamed to ‘Accounts’. Therefore, each company record will be referred to as an ‘Account’.
Click ‘Save’ once you rename the modules.
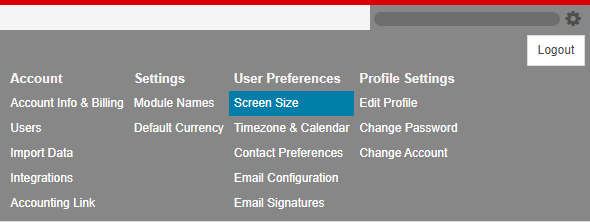
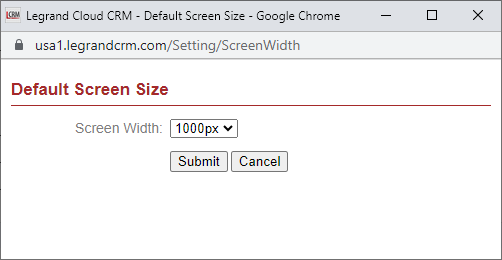
Screen Size
Click the settings icon and select ‘Screen Size’.
In the pop-up window, use the drop-down to select a new screen width. Once you select a screen width, click ‘Save’ to implement the change.
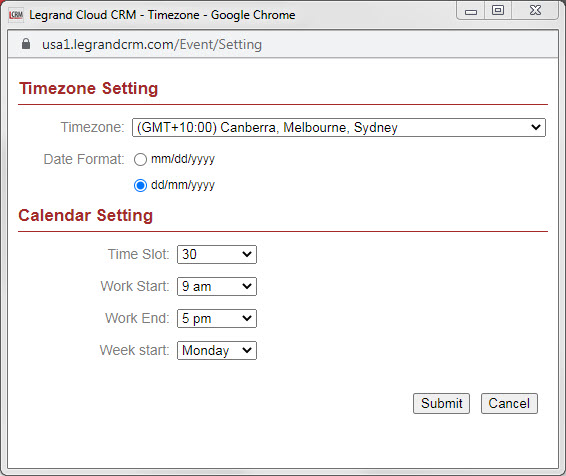
Time zone and Calendar
Click the settings icon and select ‘Time zone & Calendar’. In the pop-up screen, use the drop-down to select your time zone and date format.
You can also change the settings for the Calendar module. Click the drop-down to select a time slot, specify working hours and the start of your work week. Once you have made changes to the settings click ‘Submit’.
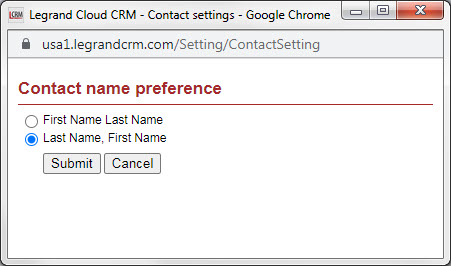
Contact Preferences
You can change how contact names are displayed in Legrand Cloud CRM. Click the settings icon and select ‘Contact Preferences’. In the pop-up screen, select one of the two options:
- First Name Last Name
- Last Name, First Name.
Click ‘Submit’ once you select an option.
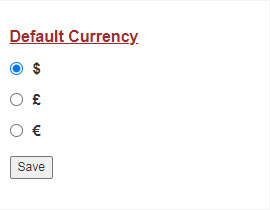
Default Currency
Click the settings icon and select ‘Default Currency’. In the pop-up screen, select a new currency and click ‘Save’.