Prerequisite: To add tags to companies, you first need to create the tags. If you already have tags, click here to proceed to the next step.
How to create a tag
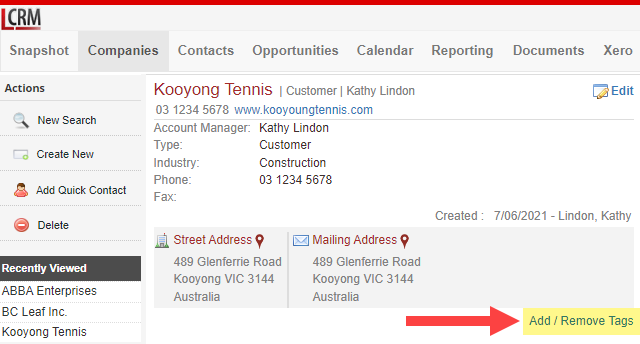
Go to the Companies module and select a Company. In the company record, click Add/Remove Tags.
Click Add New Tag.
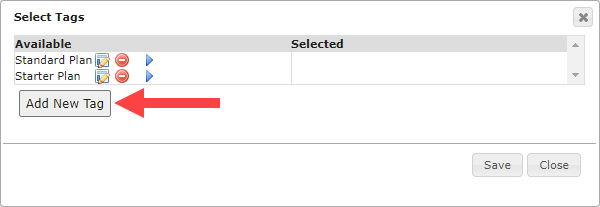
Note: Creating a new tag and tagging company records are subject to user role permissions.
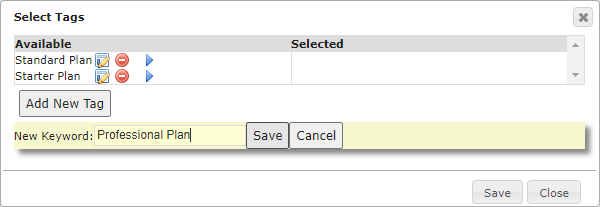
Enter a name for the tag and click Save.
How to add a tag to a company
In the Companies module, select a company record and click Add/Remove Tags
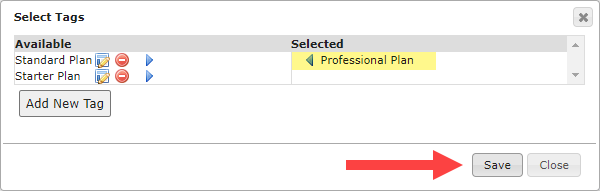
Among the list of available tags, click the blue arrow to add a tag to the company.
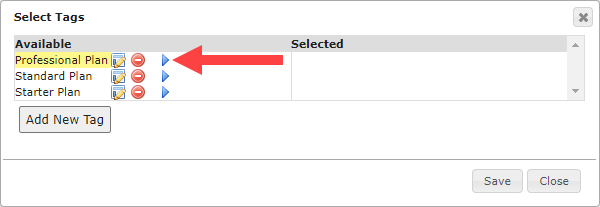
Once the tag is added to a company, the tag should appear in the Selected list. Click Save to save your changes.
Tags added to a company record are displayed as shown:
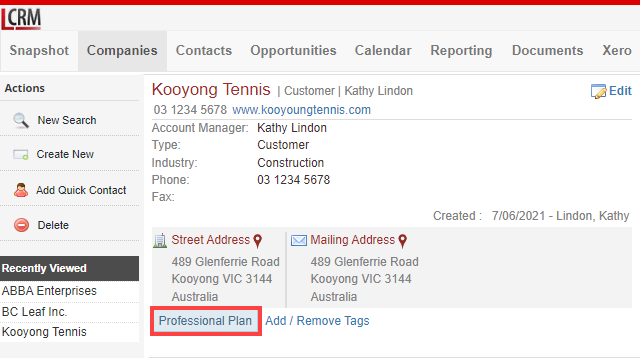
When you tag a company, you can click the tag in the record to see all companies in the same list.