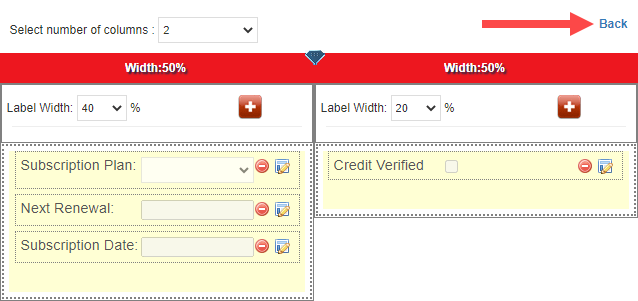
Standard data fields store basic information about your customers or prospects, such as a company name, contact name, phone number, email address, etc. Custom fields allow you to store more relevant information about your customers and prospects. You can add custom fields in the Companies, Contacts and Opportunities module.
NOTE: Custom fields for Companies, Contacts and Opportunities are separate. For example, custom fields created in the Contacts module are only for contact information.
How to add custom fields
Go to the module where you would like to add custom fields and select any record.
In the record, click Show Detail… to expand the section.
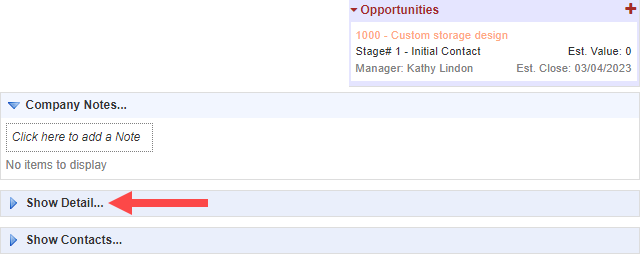
Select Click here.

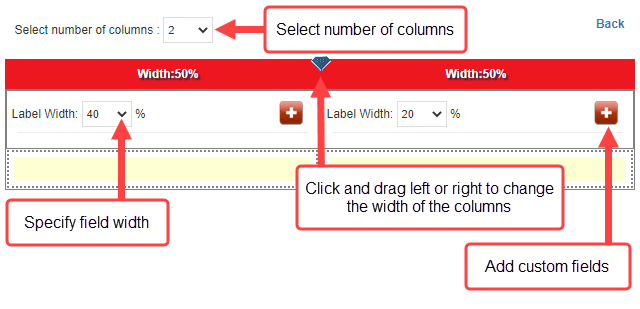
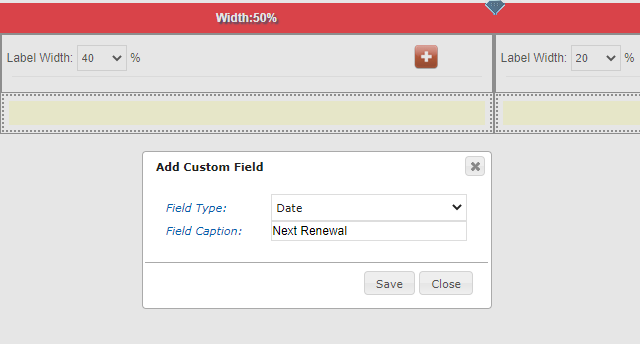
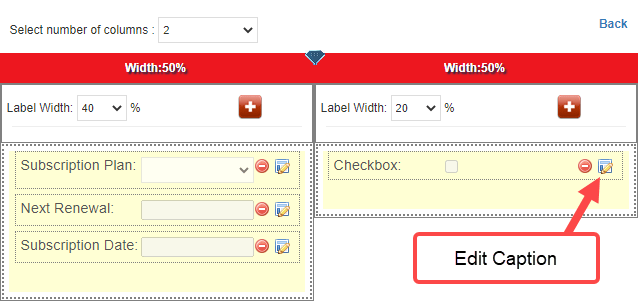
Click on the plus (+) icon to add a new field. Use the tools to configure the screen layout, such as changing the number of columns and specifying the column and label width.
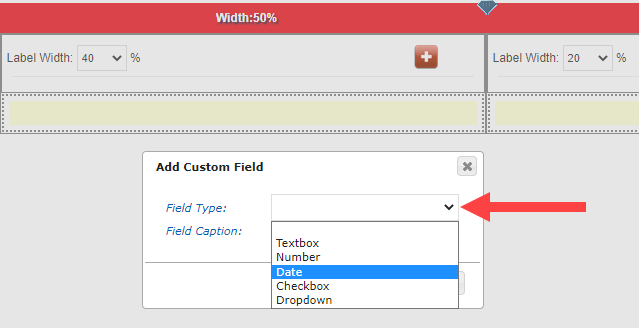
When you add a field, select the field type. You can choose a Textbox, Number, Date, Checkbox or Dropdown field.
Enter a name for the field and click Save.
Click Back to exit the configuration screen.
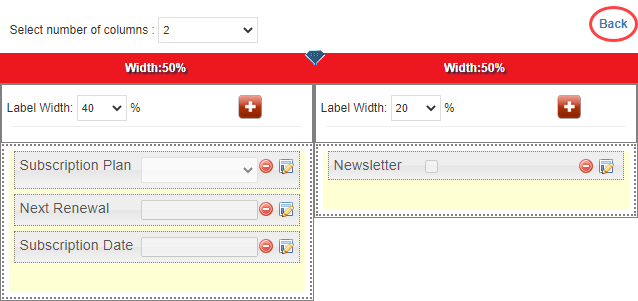
You can now store information in the custom field.
How to record information in custom fields
Go to the module (Companies, Contacts or Opportunities) where you created the custom field(s).
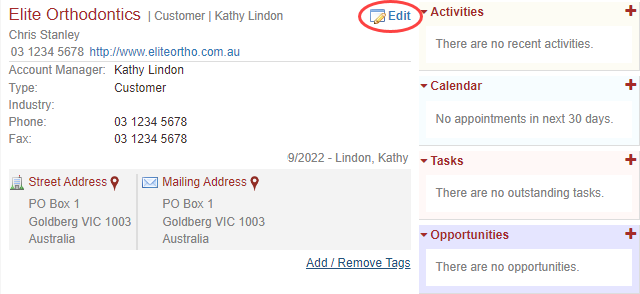
Select a record and click Edit
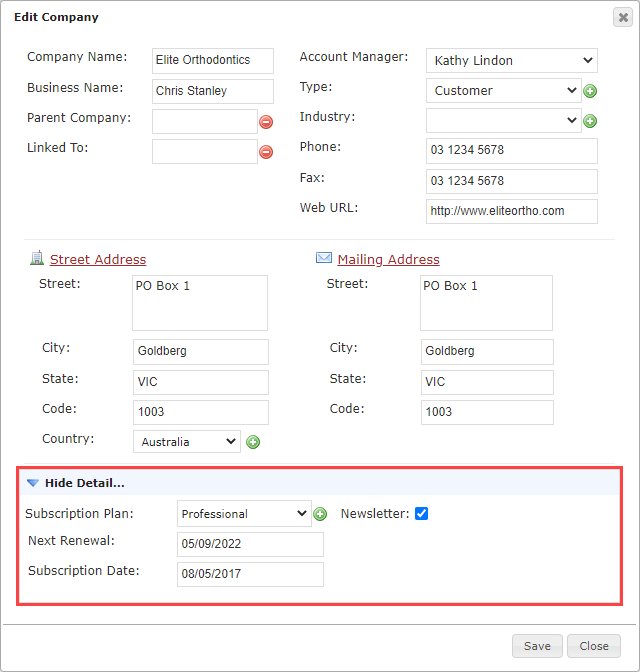
Enter information in the details section below and click Save.
How to rename a custom field
Go to the module (Companies, Contacts or Opportunities) where you created the custom field(s).
Select any record and click Show Detail… to show the custom fields.

Select Edit Layout/Add fields.

Click on the edit icon next to the custom field.
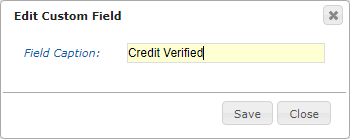
Enter a new name for the custom field and click Save.
Select Back to exit the configuration screen.
