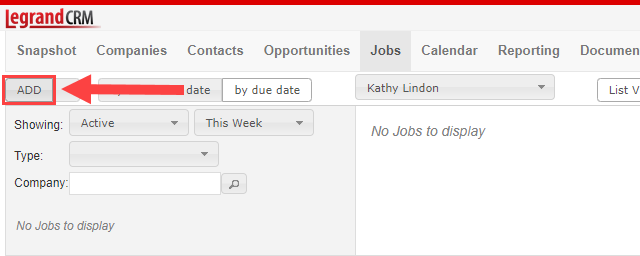
In the Jobs module, click ‘ADD’ in the top-left corner.
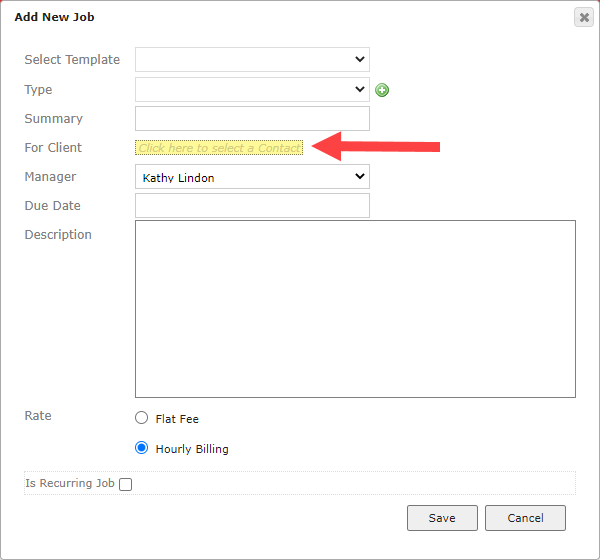
Click the link to select a client.
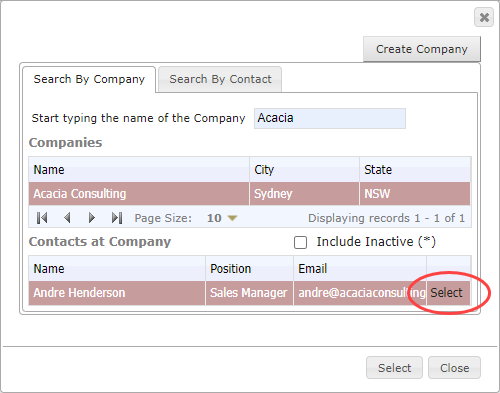
Enter the company or contact’s name in the search and click ‘Select’.
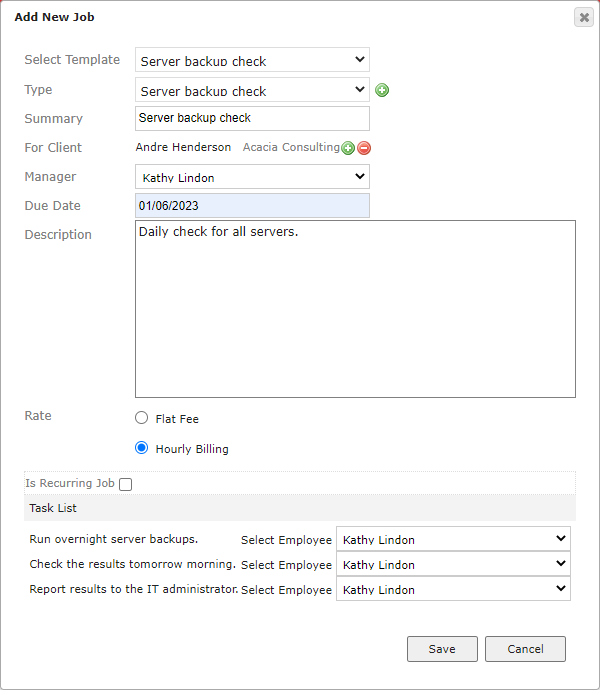
Enter the job details and click ‘Save’.
NOTE: Legrand Cloud CRM automatically populates the fields if you select a predefined job template. Click here to see how to create a job template.
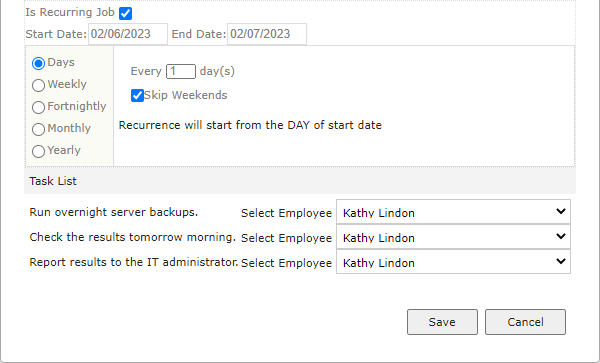
Optional: How to create a recurring job
Tick the ‘Is Recurring Job’ checkbox and select a Start and End Date.
Specify the recurring frequency and click ‘Save’. For example, you can set the job to recur Daily, Weekly, Fortnightly, Monthly or Yearly.